WOOD INSPIRATION
Get Inspired To Spray
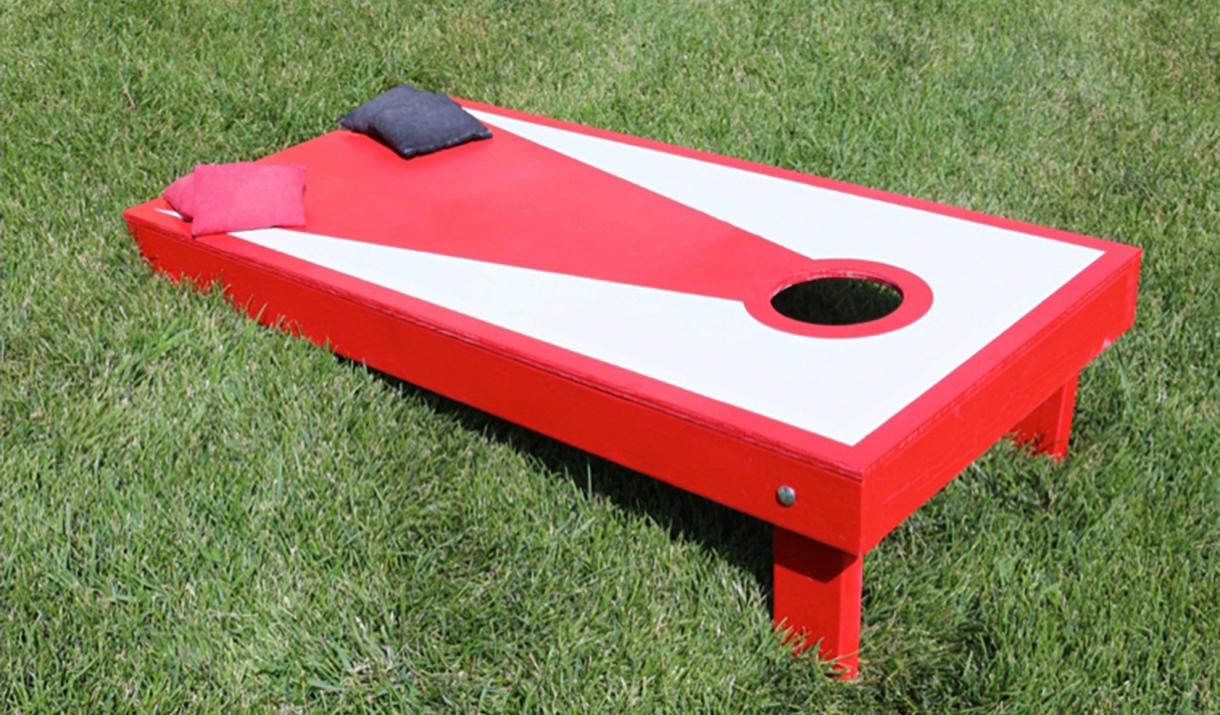
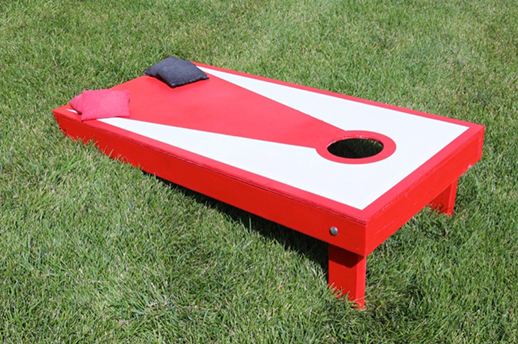
Wood and spray paint are a great combo. Go big and revive a piece of furniture. Go small and revamp a decorative box.
Wood and spray paint are a great combo. Go big and revive a piece of furniture. Go small and revamp a decorative box.