How to Use Krylon Harmony®

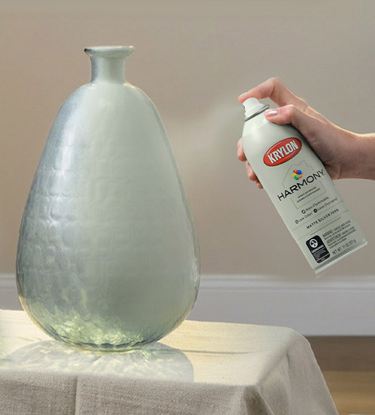
Spraying a large vase with Krylon Harmony

How to Use Krylon Harmony®

What Makes Harmony Different?

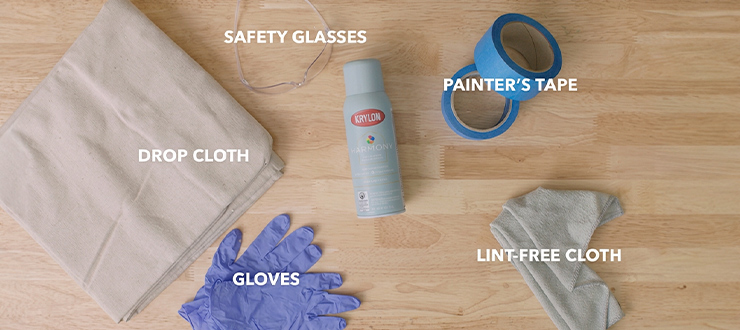
Before You Begin: What You'll Need

  • Gather these essentials before you get started:
  • Krylon® Harmony Water-Based Spray Paint
  • Drop cloth or cardboard (to protect surrounding surfaces)
  • Painter's tape (for masking designs or edges)
  • Damp rag or all-purpose cleaner
  • Fine-grit sandpaper (for glossy or previously painted surfaces)
  • Tack cloth
  • Krylon Harmony Water-Based Spray Paint
  • Drop cloth or cardboard (to protect surrounding surfaces)
  • Painter's tape (for masking designs or edges)
  • Damp rag or all-purpose cleaner
  • Fine-grit sandpaper (for glossy or previously painted surfaces)
  • Tack cloth

Step 1: Prep

Even with reduced overspray and lower odor, proper prep makes the difference between a project you're proud of and one you have to redo.


Harmony is designed for indoor use, but ventilation still matters. Work in a well-ventilated room — open a window, run a fan — to ensure comfort and optimal drying performance.


Protect your surroundings. Lay down a drop cloth or a few sheets of cardboard underneath your project. Overspray, while reduced, is not eliminated. A cardboard box turned on its side also makes a great DIY spray booth for smaller items.


Check the weather (if working outdoors). Aim for temperatures between 50 °F and 90 °F with humidity below 70%. Higher humidity and cooler temperatures can extend dry time due to the water content.

harmony prep supplies

Don't Skip Surface Prep

A great finish starts before the first coat. Harmony works on wood, metal, most plastics and more — including craft materials like foam and canvas. Here's how to prep:


1. Wipe down the surface with a damp rag to remove dirt, dust and grime. Allow to dry completely.

2. For glossy or previously painted surfaces, lightly sand with fine-grit sandpaper to improve adhesion, then wipe clean with a tack cloth.

3. For bare metal or porous materials, apply a compatible primer for best results before painting.


Tip: Always test on a small, inconspicuous area first — especially when working with plastics or unconventional materials.

harmony prep supplies

Step 1: Prep

Even with reduced overspray and lower odor, proper prep makes the difference between a project you're proud of and one you have to redo.


Harmony is designed for indoor use, but ventilation still matters. Work in a well-ventilated room — open a window, run a fan — to ensure comfort and optimal drying performance.


Protect your surroundings. Lay down a drop cloth or a few sheets of cardboard underneath your project. Overspray, while reduced, is not eliminated. A cardboard box turned on its side also makes a great DIY spray booth for smaller items.


Check the weather (if working outdoors). Aim for temperatures between 50°F and 90°F with humidity below 70%. Higher humidity and cooler temperatures can extend dry time due to the water content.


Don't Skip Surface Prep

A great finish starts before the first coat. Harmony works on wood, metal, most plastics, and more — including craft materials like foam and canvas. Here's how to prep:


1. Wipe down the surface with a damp rag to remove dirt, dust, and grime. Allow to dry completely.

2. For glossy or previously painted surfaces, lightly sand with fine-grit sandpaper to improve adhesion, then wipe clean with a tack cloth.

3. For bare metal or porous materials, apply a compatible primer for best results before painting.


Tip: Always test on a small, inconspicuous area first — especially when working with plastics or unconventional materials.

Step 2: How to Spray Paint With Krylon Harmony

Shake the can vigorously for at least one minute before use. Continue shaking periodically throughout your project to keep the formula properly mixed.


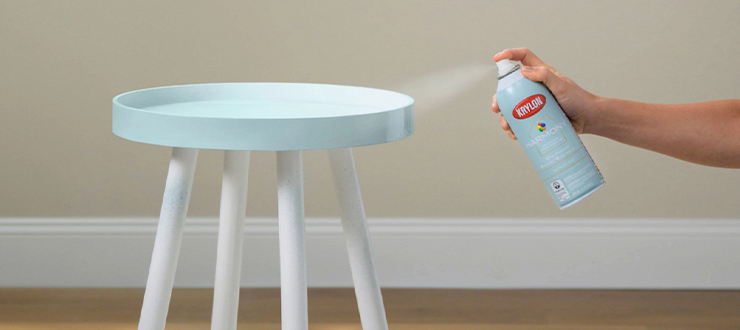
Spray. Hold the can 6-8 inches from the surface and spray in smooth, even strokes.

Here's the game-changer: With Harmony, you can spray in a continuous motion directly on the surface without starting and stopping off the edge of the project. The controlled fan spray makes it easier to stay on target.


Resist the urge to load on a thick coat and apply multiple thin coats. With no recoat time required, your next coat goes on whenever you're ready. 


Dry time: Dry to the touch in approximately 1 hour. Full cure takes 24 hours — avoid heavy use or weather exposure until then.

harmony prep supplies

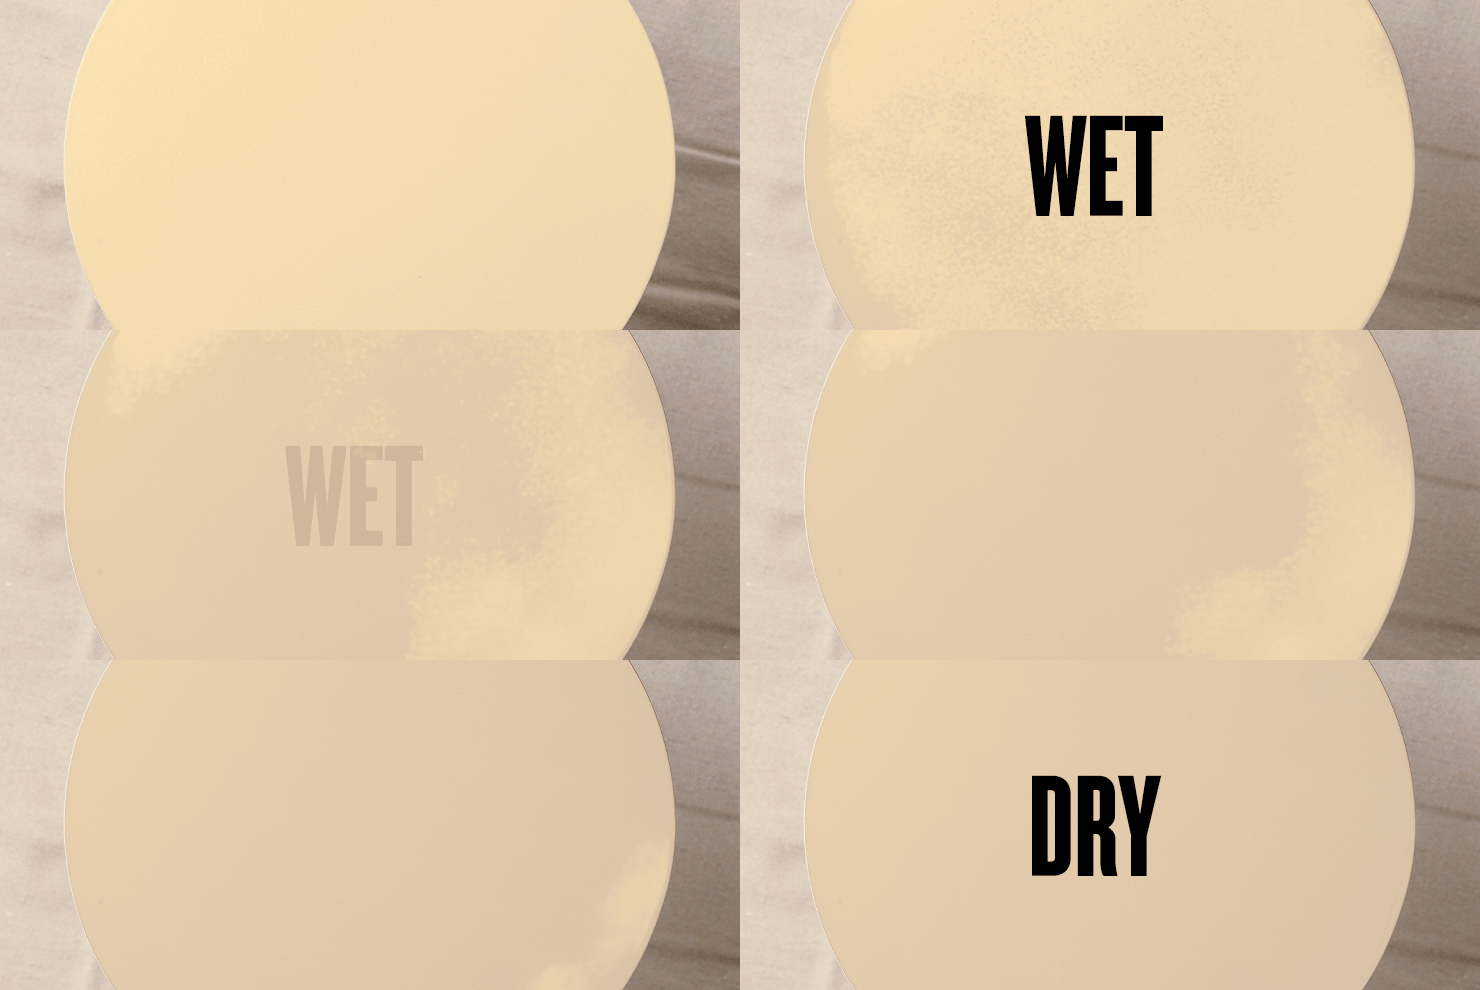
Don't Panic if It Looks Textured

Water-based paint can appear textured or slightly uneven when first applied. This is normal. Do not apply extra coats to compensate while it's still wet. Allow Harmony to self-level as it dries — it will smooth out as it dries.

harmony prep supplies

Step 2: How to Spray Paint with Krylon Harmony

Shake the can vigorously for at least one minute before use. Continue shaking periodically throughout your project to keep the formula properly mixed.


Spray. Hold the can 6-8 inches from the surface and spray in smooth, even strokes.


Here's the game-changer: With Harmony, you can spray in a continuous motion directly on the surface without starting and stopping off the edge of the project. The controlled fan spray makes it easier to stay on target.


Resist the urge to load on a thick coat and apply multiple thin coats. With no recoat time required, your next coat goes on whenever you're ready. 


Dry time: Dry to the touch in approximately 1 hour. Full cure takes 24 hours — avoid heavy use or weather exposure until then.


harmony prep supplies

Don't Panic If It Looks Textured

Water-based paint can appear textured or slightly uneven when first applied. This is normal. Do not apply extra coats to compensate while it's still wet. Allow Harmony to self-level as it dries — it will smooth out as it dries.

Step 3: Cleanup

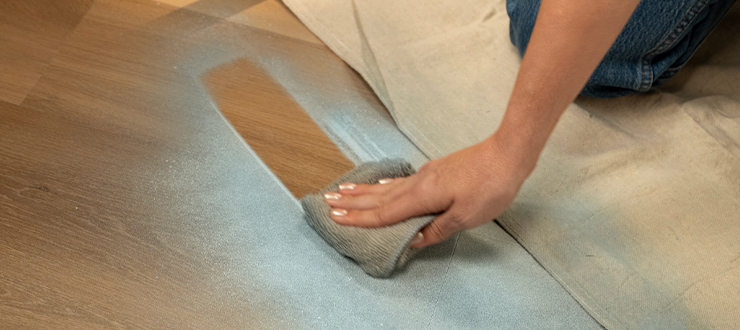
One of the best parts about Harmony? Clean up with soap and water while the paint is still wet. No solvents, no harsh chemicals. Once dried, remove with a regionally compliant cleaner.

harmony prep supplies

Pro Tips for Best Results

Avoid thick coats. Harmony fan spray is designed for layering. More thin coats always beats one heavy coat.


Give it time. The advanced flow and leveling properties of Harmony create a smooth finish as it dries. Resist the urge to apply extra coats too soon and let Harmony do the work. 


Store it right. Keep cans at room temperature and avoid freezing. Extreme cold can affect the water-based formula.


Ventilation matters. Low odor doesn't mean no odor. Keep airflow moving for safety, comfort and optimal drying.


Test first. Not sure how a surface will take the paint? Test on a hidden area before committing to the full project.


harmony prep supplies

Step 3: Clean Up

One of the best parts about Harmony? Clean up with soap and water while the paint is still wet. No solvents, no harsh chemicals. Once dried, the paint becomes more durable and significantly harder to remove.


Pro Tips for Best Results

Avoid thick coats. Harmony's fan spray is designed for layering. More thin coats always beats one heavy coat.


Give it time. The advanced flow and leveling properties of Harmony create a smooth finish as it dries. Resist the urge to apply extra coats too soon and let Harmony do the work. 


Store it right. Keep cans at room temperature and avoid freezing. Extreme cold can affect the water-based formula.


Ventilation matters. Low odor doesn't mean no odor. Keep airflow moving for safety, comfort, and optimal drying.


Test first. Not sure how a surface will take the paint? Test on a hidden area before committing to the full project.


Ready to Start Your Project?

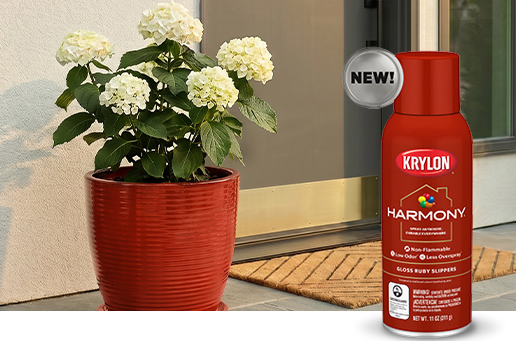
Krylon Harmony makes it easier than ever to bring color into your home — indoors, confidently and without compromise. Browse Harmony colors and find your next project inspiration below.
harmony

Shop Krylon Harmony

HARMONY YOUTUBE VIDEO

See Krylon Harmony in practice, from spraying tips to the easy cleanup

lowes

Find a Lowe’s near you

  • Gather these essentials before you get started:
  • Krylon® Harmony Water-Based Spray Paint
  • Drop cloth or cardboard (to protect surrounding surfaces)
  • Painter's tape (for masking designs or edges)
  • Damp rag or all-purpose cleaner
  • Fine-grit sandpaper (for glossy or previously painted surfaces)
  • Tack cloth