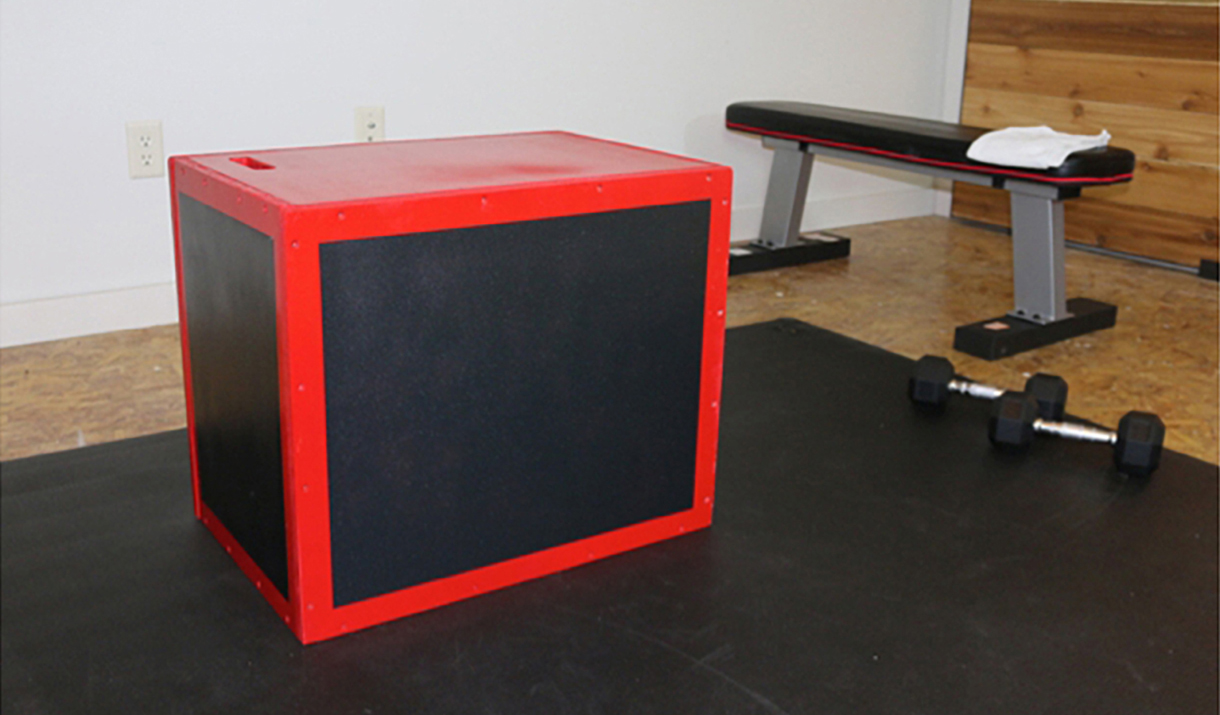
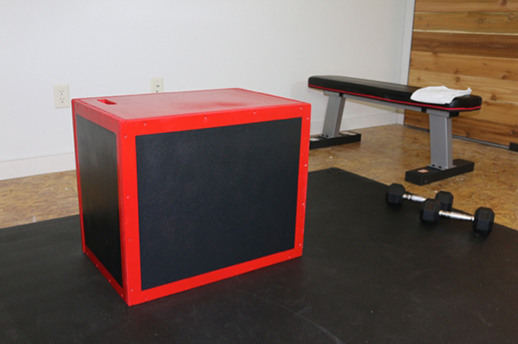
This plyometric box has three different heights (24 inch, 20 inch, 16 inch) and is made from one 4×8 sheet of ¾ inch thick plywood. A total of nine pieces will be cut from the sheet of plywood. Six of the pieces will form the outside of the box and the other three boards will be used as reinforcement inside the box.
-
The first step is to measure the panels that will be used for the outside of the plyometric box. Two of these six panels should be measured at 24 by 20 inches, two should be measured at 22½ by 14½ inches, and two should be measured at 20½ by 14½ inches. Measure the panels, place marks at the measurements, then use a straight edge and a pencil to connect the marks to create a straight line to follow with the circular saw.
-
Next, measure the three panels that will serve as reinforcement inside the box. While it may not be entirely necessary, these are recommended for extra strength. One of the three panels will be measured at 22½ by 14½ and the other two will be 22½ by 8⅞ inches. Measure the panels, place marks at the measurements, then use a straight edge and a pencil to connect the marks to create a straight line to follow with the circular saw.
-
Sand each panel with an orbital sander and 220 grit paper. At this time you can also cut the handles for the box. Decide which two panels you want to have the handles. They will need to be off center since the reinforcement panels will to be centered inside the box. Draw a 1¼ inch by 4 inch box as a reference for cutting out handles.
-
After cutting the handles and sanding, it is time to assemble the box. Start by assembling the two 22½ by 14½ inch panels and two 20½ by 14½ inch panels to create an open rectangle shape. Add wood glue around each panel. Use a drill with a ⅛ inch drill to drill pilot holes prior to adding screws — this will prevent the wood from splitting. Continue around each side of the box using four 2 inch long wood screws at each corner. Slightly countersink each screw.
-
Use 2 inch long wood screws around the perimeter of the box to attach the bottom 24X 20 inch panel.
-
Before placing the last/top 24×20 panel on the box, add the reinforcement panels. Draw a line down the center of the larger reinforcement panel (22½ by 14½ inches) and then offset each of the smaller reinforcement panels (22½ by 8⅞ inch panels) on either side of the larger perpendicular panel. One smaller panel will go on the left side of the line, and the other will go on the right side. By offsetting the smaller panels you’ll be able to add glue and screws for each panel.
-
Use wood glue on each end of the support and slide it into the box. If it is a snug fit you will not need to use any screws.
-
Secure the final 24×20 inch panel to close up the box. Use 220 grit sandpaper to smooth out the boards and remove rough edges. You could fill the screw holes with putty if you’d like. If you do choose to fill the holes make sure to sand away excess once it cures.
-
After reading the product label for proper application and safety instructions, spray two coats of the entire box using Krylon® Fusion All-In-One® in Gloss Red Pepper. It is recommended to wear a respirator during this process and ventilate the area as much as possible. Allow paint to dry completely.
-
Once the paint has completely dried, measure 1½ inches in from each side to create a border. Use painters tape to mask off the border, along with two whole side panels that will remain red.
-
Paint two coatings of the exposed panels using Krylon® Fusion All-In-One® Hammered Finish in Hammered Black. Allow paint to try for at least ten minutes before attempting to remove the tape, but be sure to remove before paint is fully cured.