Every season is project season
Every season is project season
Projects
When you do it yourself, it becomes your project.
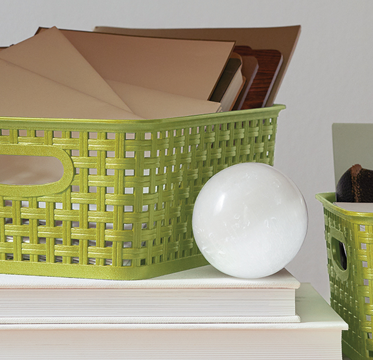
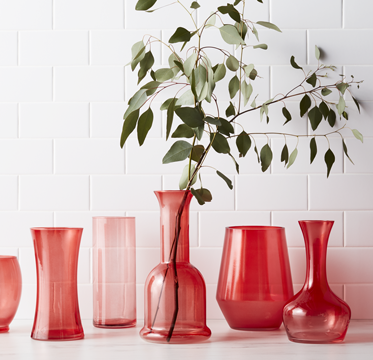
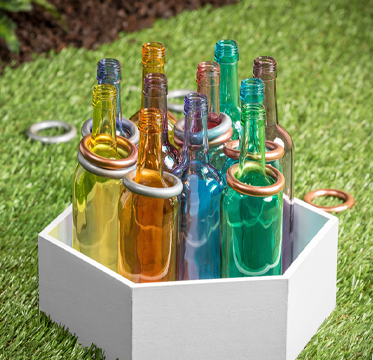
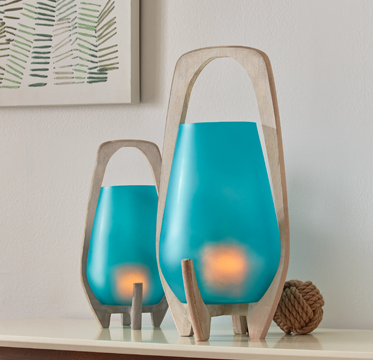
Glass Surfaces
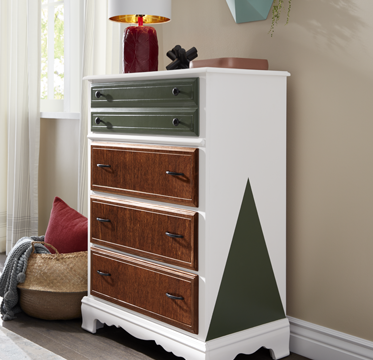
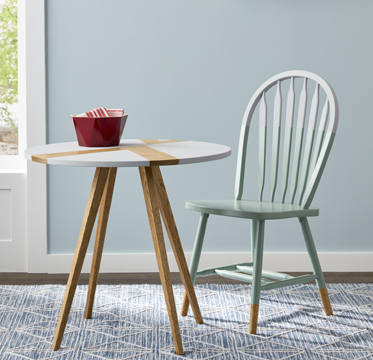
Wood & Laminate Surfaces

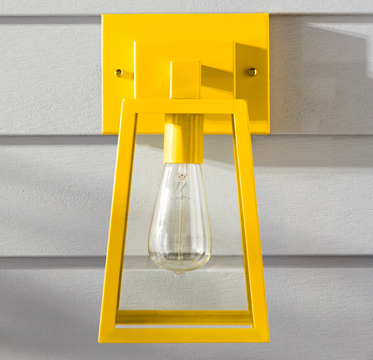
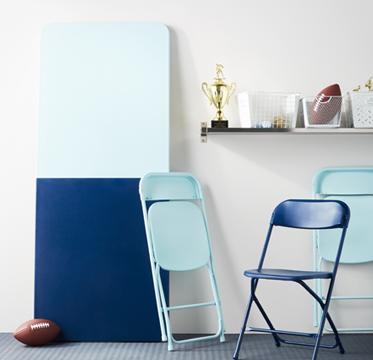
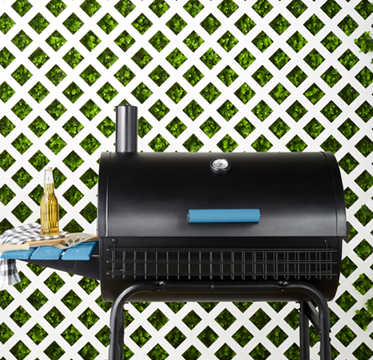
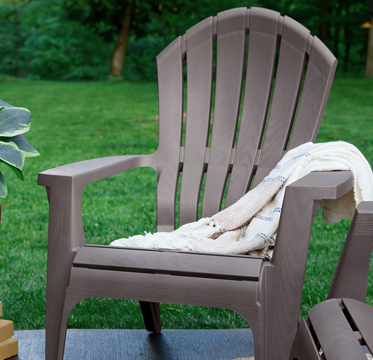
Seasonal Projects
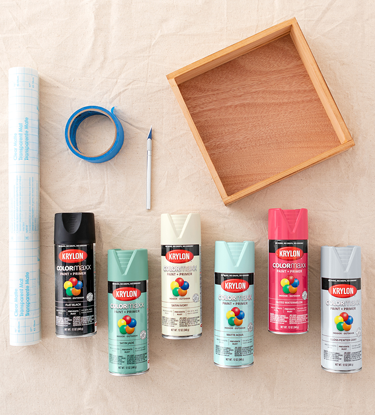
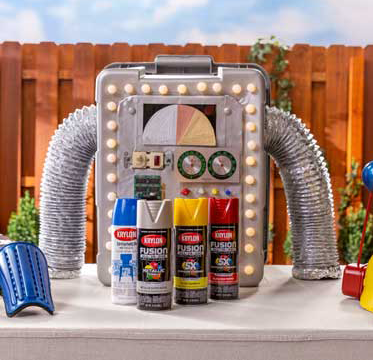
PROJECT INSPIRATION
Get Inspired To Spray
Need a little something to get you spraying? DIY projects, spray paint tutorials, and color inspiration. You want it - we've shared it.